ACP-100
DISASSEMBLY
All data refers to the Technics SL-Q2
Note: you do not need to remove the platter if you do not intend to disassemble or access the
mainboard, mechanics or tonearm section.
Remove the plastic cover and put it upside-down on a flat surface (don't ask why).
Get your turntable stripped of any remainig LPs, Slipmats or Slipsheet and unplug it.
Also remove the the rubber mat on the platter, and, for gods sake, remove the needle and headshell
befor getting crafty. Lock the tonearm.
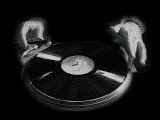
You might be faced with something looking like this:
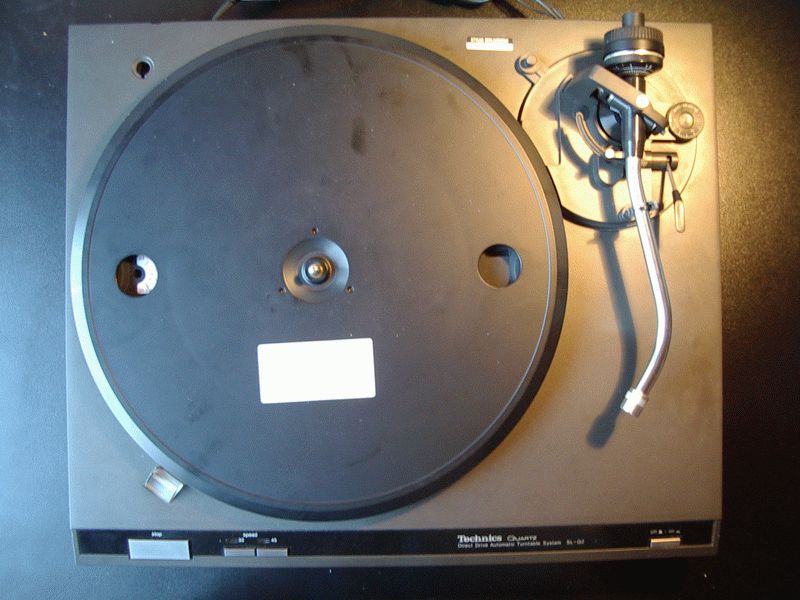
Now, grab the platter from above with both hands, putting a thumb in each hole and the
four fingers on the outer side. Now pull up the platter and take care that it does not move a lot
when it gets loose. The axis/platter has a friction-locked, conical fitting, so it might need some power to loosen it.
You may help a little by pushing down on the plastic with the thumbs.
Once it is loose, pull it up all the way and don't touch the axis pin, otherwise you get scratches in it, which
will destroy your vinyl hardware later. Pull up at least 4 cm to get the magnet, which is attached under
the platter, free of the axis.
Turn the platter around and put it somewhere safe. The big, black ring is the rotor (magnet) and the material is very
brittle. If you pinch the magnet while dis-/assembling some slivers might break off and make your turntable flutter.
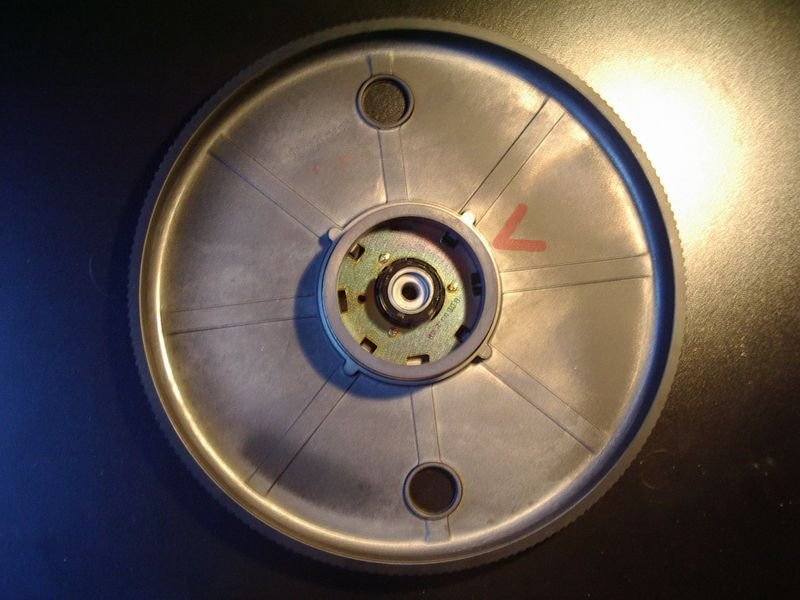

Remove the three black screws that hold the stator and axis together.
Remove the three redish screws that hold the plastic cover and take off the cover.
Turn your turntable around and put it carefully on the plastic case (there you are!).
You can also put it anywhere else, but be sure not to touch the tonearm.
Remove the four feet by removing the screw in each of them.
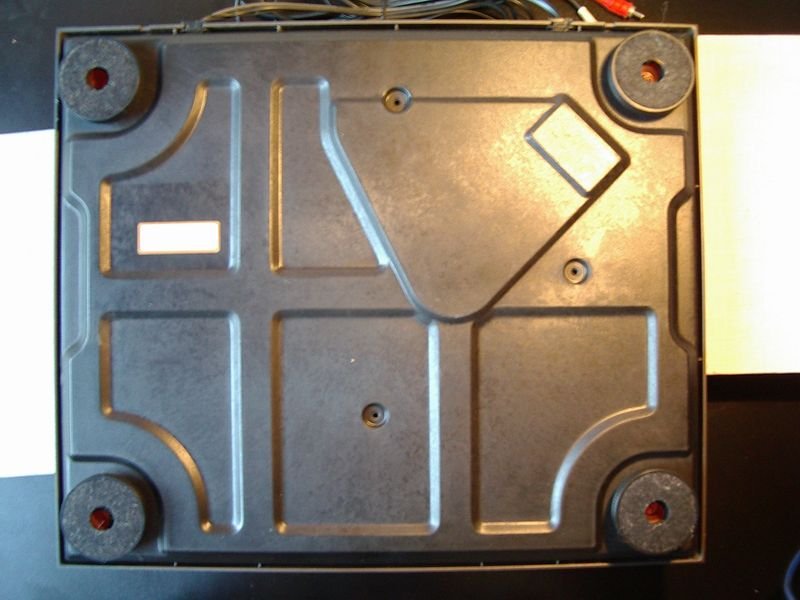
Then take of the plastic, covering the bottom side of the turntable.
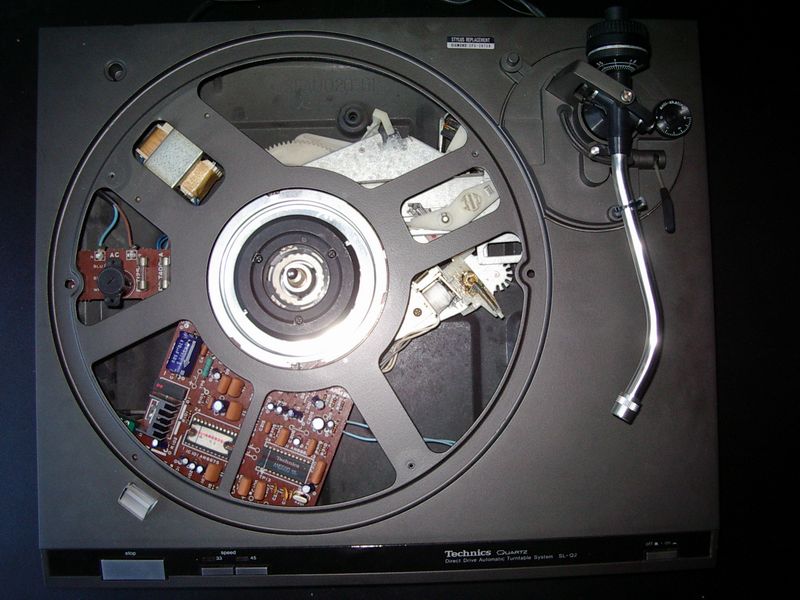
This is what you will see.

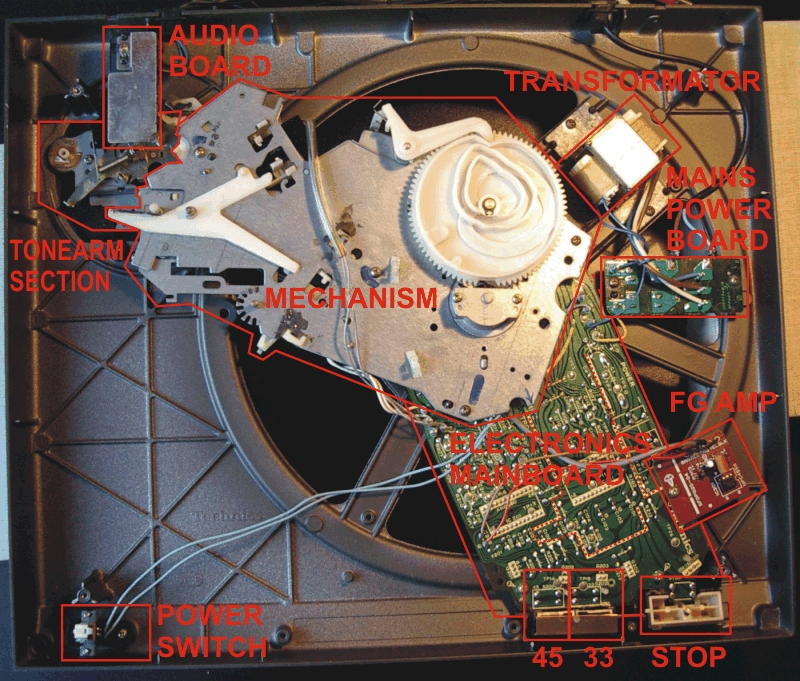
Unscrew the main power switch.

Get the grey cable (from the auto-on/off switch) and the white cable (from the relay) outn of the clips.
Remove the FG-AMP-board from the mainboard.
Remove 4 screws to release the mechanics and an additional 2 screws near the switches to release the mainboard.
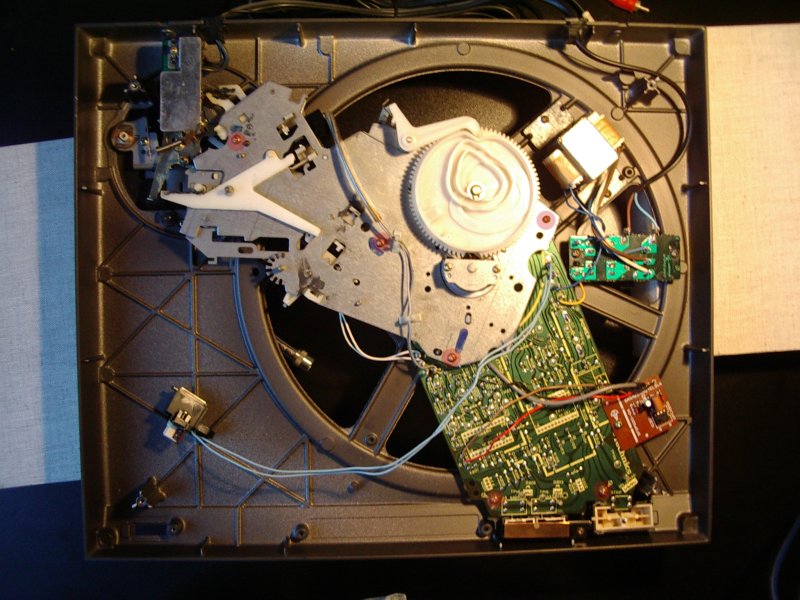
Now, pull up and remove carefully the mechanics section.
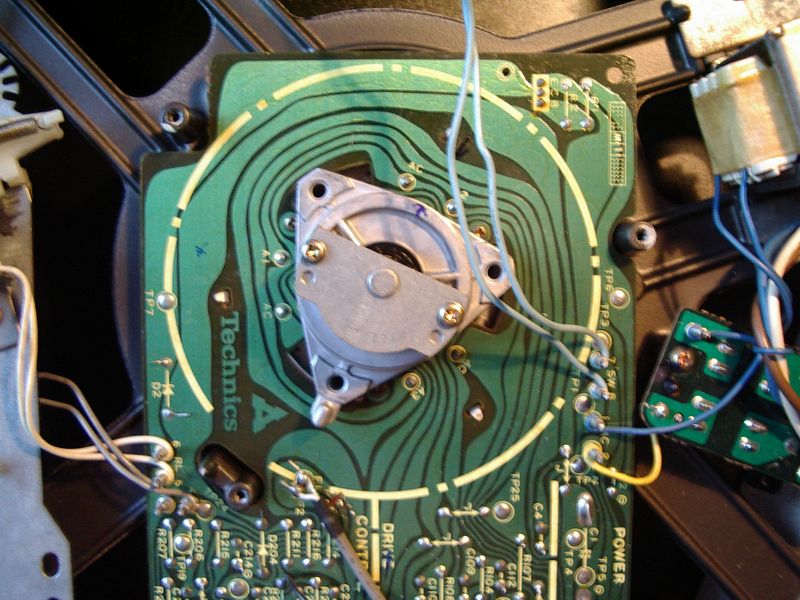
Remove the axis.
Now you can remove the mainboard.